Summarize this blog post with:
Discovering your website has been hacked is a crisis — but your response in the first 30 minutes determines whether you recover cleanly or spend days fighting re-infection, traffic loss, and Google blacklisting. This guide covers every technical step: from pulling the site offline instantly, to cleaning injected malware, patching the root vulnerability, and getting Google to trust your domain again.
Act immediately. Every minute a hacked page stays live, Google crawls it, indexes malicious content, and may flag your domain as dangerous — triggering browser security warnings that kill user trust and crash your search rankings.
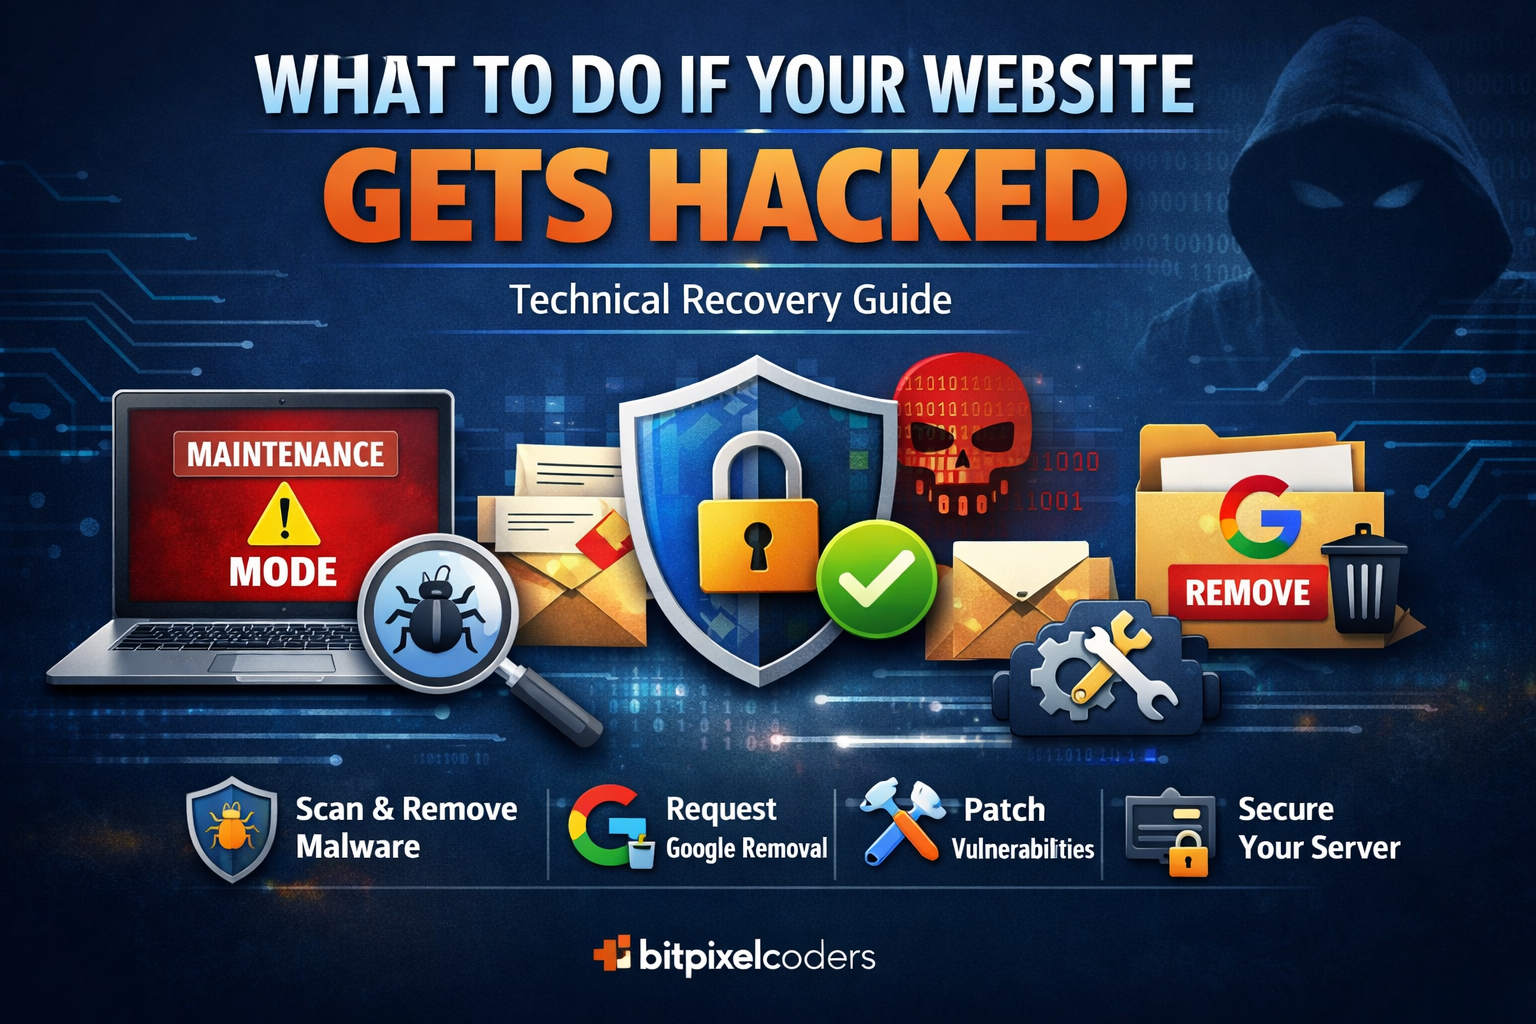
Step 1 – Enable Maintenance Mode Immediately
Before investigating anything, take your site offline. This stops Google indexing hacked pages, prevents malware delivery to visitors, and gives you a safe working environment. Here is how to do it across the most common stacks:
WordPress
# Create the WordPress maintenance lock file
# WordPress checks for this file and shows its built-in maintenance screen
touch /var/www/html/.maintenance

# Or create a maintenance file with a timestamp (more reliable)
echo '<?php $upgrading = time(); ?>' > /var/www/html/.maintenance
Laravel
# Bring site down — visitors see 503 maintenance page
php artisan down --secret="your-secret-token"

# You (and only you) can still view the site via:
# https://yourdomain.com/your-secret-token

# Bring it back up when done
php artisan up
Next.js / Node.js
// middleware.ts — redirect all traffic to /maintenance during incident
import { NextResponse } from 'next/server';
import type { NextRequest } from 'next/server';

export function middleware(request: NextRequest) {
  const bypassToken = request.cookies.get('bypass')?.value;
  if (bypassToken === process.env.MAINTENANCE_TOKEN) {
    return NextResponse.next();
  }
  if (request.nextUrl.pathname !== '/maintenance') {
    return NextResponse.redirect(new URL('/maintenance', request.url));
  }
}

export const config = { matcher: ['/((?!_next/static|_next/image|favicon.ico).*)'] };
Apache / Nginx (.htaccess)
# .htaccess — redirect all traffic except your IP to maintenance page
RewriteEngine On
RewriteCond %{REMOTE_ADDR} !^YOUR.IP.ADDRESS$
RewriteCond %{REQUEST_URI} !/maintenance.html$
RewriteCond %{REQUEST_URI} !^/favicon
RewriteRule ^(.*)$ /maintenance.html [R=302,L]
Step 2 – Identify the Attack Vector
Before cleaning anything, understand what was compromised and how the attacker got in. Check server access logs, file modification timestamps, and look for signatures of the most common attack types:
- SEO Spam Injection — Hidden links, Japanese/pharma/casino keywords injected into page content to rank for spam queries in your domain authority
- PHP Backdoor Files — Obfuscated PHP scripts (often disguised as wp-config.bak.php or images.php) that let attackers regain access at will
- Malicious JavaScript Injection — Script tags injected into theme files or the database to redirect mobile/Google-referred visitors to phishing sites
- Database Content Injection — Posts, comments, or options rows in the DB containing hidden links or iframe injections
- Credential Theft (Skimming) — Code added to checkout/login forms to exfiltrate user data to an attacker-controlled server
- Cryptomining Scripts — JavaScript added to pages to mine cryptocurrency using visitor CPU cycles
- Defacement — Homepage replaced; usually the least damaging but most visible attack type
# Find PHP files modified in the last 7 days (attackers often touch timestamps — use --no-dereference)
find /var/www/html -type f -name '*.php' -newer /var/www/html/index.php

# Search for common obfuscation/malware patterns
grep -rl 'eval(base64_decode' /var/www/html --include='*.php'
grep -rl 'gzinflate(str_rot13' /var/www/html --include='*.php'
grep -rl 'preg_replace.*\/e' /var/www/html --include='*.php'
grep -rl 'FilesMan' /var/www/html --include='*.php'

# Search for hidden iframe injections in HTML/JS
grep -rl '<iframe' /var/www/html --include='*.php'
grep -rl '<script' /var/www/html --include='*.php' | xargs grep -l 'base64'

# Check server access log for POST requests to unknown PHP files
grep 'POST' /var/log/nginx/access.log | grep '\.php' | awk '{print $7}' | sort | uniq -c | sort -rn | head -20
Step 3 – Check Google Search Console
Log in to Google Search Console immediately. This is where you will see the full scope of what Google has discovered and what actions have been taken against your domain:
- Security & Manual Actions → Security Issues — Google explicitly lists detected malware, hacked content, deceptive pages, or unwanted software. Screenshot everything.
- Security & Manual Actions → Manual Actions — Check if a human reviewer at Google has flagged your site; this requires a formal review request after cleanup.
- URL Inspection Tool — Inspect suspicious URLs to see the rendered HTML Google cached. Look for injected links or content you did not add.
- Index → Coverage — Look for a sudden spike in "Valid" indexed URLs — a sign that hundreds of spam pages were injected and crawled.
- Sitemaps — Check if the attacker submitted a malicious sitemap (e.g., sitemap-spam.xml) pointing to their injected pages.
- Performance — Filter by date; a sudden traffic increase from unusual queries (pharma, gambling, Japanese characters) confirms SEO spam injection.
If Google has flagged your domain with a Safe Browsing warning ("This site may harm your computer"), you cannot remove it via GSC alone — the malicious content must be fully cleaned first, then you submit a review request. Expect 1-3 days for Google to re-evaluate.
Step 4 – Run a Full Malware Scan
Use a layered scanning approach — external scanners catch what is visible to the public; server-side scanners find hidden backdoors and injected files:
- Sucuri SiteCheck (free) — sitecheck.sucuri.net — Scans your public-facing pages for known malware signatures and checks 10+ blacklists
- Google Safe Browsing — transparencyreport.google.com/safe-browsing/search — Check if your domain is on Google's blacklist
- VirusTotal — Upload suspicious files or check your URL against 70+ antivirus engines
- ClamAV (free, Linux) — Server-side open-source antivirus; run a recursive scan of your webroot
- Wordfence (WordPress) — Plugin that compares all WordPress core and plugin files against their verified database and flags modifications
- Maldet / Linux Malware Detect — Specifically designed for shared-hosting environments; good at detecting PHP webshells
- YARA Rules — For advanced users; custom YARA rules can detect specific malware families and variants
# Install and run ClamAV on Ubuntu/Debian
sudo apt update && sudo apt install clamav clamav-daemon -y
sudo freshclam  # Update virus definitions
clamscan -r /var/www/html --infected --remove --log=/tmp/clamav-scan.log
cat /tmp/clamav-scan.log

# Install Linux Malware Detect (Maldet)
cd /tmp && wget http://www.rfxn.com/downloads/maldetect-current.tar.gz
tar -zxvf maldetect-current.tar.gz && cd maldetect-*
sudo bash install.sh
maldet --scan-all /var/www/html
Step 5 – Remove Malicious Code and Clean the Database
Systematic cleanup requires checking every layer — PHP files, JavaScript, and the database. Do not just delete infected files; replace them with verified clean versions:
- Replace CMS core files — Re-download WordPress/Laravel/Drupal core and overwrite all core files with clean copies; never just delete
- Audit every plugin and theme — Remove anything unrecognised; re-download clean versions of plugins you actively use from official sources only
- Remove malicious admin/FTP/SSH accounts — Check for user accounts you did not create
- Clean database content — Search for injected links, iframes, and script tags in post content, comments, and the options table
- Fix file permissions — Web-readable files should be 644; directories 755; wp-config.php should be 400
- Rotate all secrets — Change database passwords, API keys, JWT secrets, and .env values
# Remove all known malware strings from PHP files (example — review matches before bulk deleting)
grep -rl 'eval(base64_decode' /var/www/html --include='*.php' | xargs rm -f

# Fix file and directory permissions
find /var/www/html -type f -exec chmod 644 {} \;
find /var/www/html -type d -exec chmod 755 {} \;
chmod 400 /var/www/html/wp-config.php

# WordPress: check options table for injected content
# Run in MySQL/MariaDB:
SELECT option_name, SUBSTR(option_value,1,200)
FROM wp_options
WHERE option_value LIKE '%eval(%'
   OR option_value LIKE '%base64_decode%'
   OR option_value LIKE '%<iframe%';

# Scan post content
SELECT ID, post_title, SUBSTR(post_content,1,200)
FROM wp_posts
WHERE post_content LIKE '%<script%'
   OR post_content LIKE '%<iframe%'
   OR post_content LIKE '%eval(%';
Step 6 – Request URL Removal from Google
If Google has already indexed hacked pages (injected spam URLs, doorway pages), use Google Search Console's URL Removal Tool to accelerate their de-indexing. This is separate from the malware/manual action review — it removes specific URLs from search results:
- 1. Open Google Search Console → Index → Removals
- 2. Click "New Request" → enter the exact hacked URL
- 3. For a page that now returns 404/410: select "Remove this URL only" or "Clear cached URL"
- 4. For a URL prefix pattern (e.g. all /viagra/ URLs): select "Remove all URLs with this prefix"
- 5. Temporary removal hides the URL for 6 months — only use this as an emergency measure while the content is still being cleaned
- 6. For hundreds of injected URLs, also use the Removals API or contact Google via the GSC Help forum
- 7. After removal is confirmed, ensure those paths return HTTP 410 Gone (not just 404) to signal permanent deletion to Google
Important: "Temporary removal" from Google Search Console hides a URL for 6 months but does NOT prevent re-crawling and re-indexing. Once the temp removal expires, Google will recrawl. For permanently deleted pages, you must return HTTP 410 Gone — not a temporary 302 redirect — so Google removes them from the index permanently without re-indexing.
Step 7 – Patch the Root Vulnerability
Cleaning infected files without closing the entry point means you will be re-infected within 24-72 hours. These are the most common root causes and their fixes:
- Outdated CMS / plugins — Update WordPress core, themes, and all plugins; enable auto-updates for security releases. Audit with "php artisan outdated" in Laravel.
- Nulled / pirated software — Delete everything; nulled plugins and themes almost universally contain obfuscated backdoors. No exceptions.
- Weak or reused passwords — Force reset all admin/FTP/SSH credentials; enforce minimum 16-character passwords with a password manager.
- Missing 2FA — Enable two-factor authentication on all admin accounts; use TOTP apps (Authy, Google Authenticator) not SMS.
- Insecure file upload handling — Validate MIME type server-side (not just client-side extension); store uploads outside webroot; serve via CDN with MIME enforcement.
- Exposed configuration files — Ensure .env, wp-config.php, and database credentials are never publicly accessible; check with: curl -I https://yourdomain.com/.env
- Unrestricted wp-admin / phpMyAdmin — Block by IP using .htaccess or Cloudflare firewall rules; never leave these accessible from all IPs.
- SQL Injection in custom code — Use prepared statements and parameterised queries everywhere; never interpolate user input directly into SQL.
# .htaccess — block wp-admin except from your IP
<Files wp-login.php>
    Order Deny,Allow
    Deny from all
    Allow from YOUR.IP.ADDRESS
</Files>

# Block .env and sensitive config files from public access
<FilesMatch "(\.env|\.htpasswd|wp-config\.php|composer\.lock|package\.json)$">
    Order Allow,Deny
    Deny from all
</FilesMatch>
Step 8 – Restore from a Clean Backup
If you have automated daily backups stored off-server (S3, Google Drive, Backblaze), this is often the fastest path to a clean state. Identify the last backup before the compromise date — check your server access logs for the first signs of the attack to determine that date accurately. After restoring, immediately patch the vulnerability that allowed the breach — restoring to an unpatched state guarantees re-infection. Key backup tools: UpdraftPlus (WordPress), Laravel Backup package (spatie/laravel-backup), or your hosting provider's snapshot system. Always restore to a staging environment first and run your malware scans before pushing live.
Step 9 – Re-submit Sitemap and Request Re-indexing
Once the site is clean and secure, tell Google and Bing to re-crawl:
- Google Search Console → Sitemaps — Re-submit your XML sitemap to trigger a fresh crawl of legitimate content
- URL Inspection Tool — For your homepage and top-priority pages, use "Request Indexing" to fast-track re-crawling
- Manual Actions → Request Review — If Google issued a manual action, click "Request Review" and write a detailed description of what you found, removed, and patched
- Security Issues → Request Review — Submit a security review request once all malware is confirmed removed
- Bing Webmaster Tools — Submit sitemap and use the URL Submission tool for priority pages
- Monitor Search Performance — After 48-72 hours, check impressions and clicks in GSC Performance to verify recovery
Step 10 – Harden Your Site Against Future Attacks
- Web Application Firewall (WAF) — Cloudflare (free tier covers basic WAF), Sucuri, or AWS WAF; blocks SQLi, XSS, and known attack patterns at the network edge
- HTTPS + HSTS — Force TLS everywhere; add Strict-Transport-Security: max-age=31536000; includeSubDomains; preload header
- Content Security Policy (CSP) — Prevent XSS by whitelisting script/style sources: Content-Security-Policy: default-src 'self'; script-src 'self' 'nonce-{random}'
- File Integrity Monitoring — Wordfence (WordPress), AIDE (Linux), or a custom cron job that hashes all PHP files daily and alerts on changes
- Fail2ban — Block brute-force login attempts at the server level; configure rules for wp-login.php, xmlrpc.php, and SSH
- Disable XML-RPC (WordPress) — A common DDoS/brute-force attack vector: add "add_filter('xmlrpc_enabled', '__return_false');" to functions.php
- Immutable infrastructure — If using Docker/containers, never allow runtime file writes to application code; use read-only filesystems
- Automated off-site backups — Daily encrypted backups to S3 with 30-day retention; test restores quarterly
- Security headers audit — Use securityheaders.com to verify X-Frame-Options, X-Content-Type-Options, Referrer-Policy, and Permissions-Policy are set
Complete Hacked Site Recovery Checklist
- ✓ Maintenance mode enabled (visitors see 503/maintenance page)
- ✓ Hosting provider notified (they may have additional server-level logs)
- ✓ Google Search Console checked — Security Issues, Manual Actions, and Performance anomalies documented
- ✓ Malware scanned — Sucuri SiteCheck (external) + ClamAV or Maldet (server-side)
- ✓ All infected PHP files identified, removed, and replaced with clean versions
- ✓ Database scanned and cleaned — post content, options table, user accounts
- ✓ Hacked/spam URLs submitted to GSC URL Removal Tool
- ✓ All unauthorised admin/FTP/SSH accounts removed
- ✓ All credentials rotated — DB password, FTP, SSH keys, .env secrets, API keys
- ✓ Root vulnerability patched — plugin updated, upload handler fixed, SQL injection closed
- ✓ File permissions corrected — files 644, directories 755, wp-config.php 400
- ✓ WAF and HTTP security headers configured
- ✓ 2FA enabled on all admin accounts
- ✓ Sitemap re-submitted and key URLs requested for re-indexing
- ✓ GSC Manual Action / Security Issues review request submitted
- ✓ File integrity monitoring and automated backups configured and tested
Need emergency site recovery or security hardening for your WordPress, Laravel, or Next.js application? BitPixel Coders offers malware removal, vulnerability patching, and ongoing security monitoring for businesses worldwide.
Get a Free Consultation →Frequently Asked Questions
Common signs: sudden traffic drop in Google Search Console, visitors being redirected to unknown sites, Google showing a "This site may be harmful" warning, unfamiliar admin accounts, PHP files you did not create, or Google indexing pages with spam keywords (pharma, casino, Japanese characters).
After submitting a review request in Google Search Console, Google typically responds within 1–3 business days for most manual actions. Complex cases involving widespread spam injection can take up to 2 weeks. Recovery of organic traffic after a clean bill of health usually takes 2–6 weeks.
Yes, in most cases. If you clean the malware quickly (within 24–72 hours), patch the vulnerability, and submit a review request, rankings typically recover within 4–8 weeks. The longer hacked content stays indexed, the longer recovery takes.
If you have a confirmed clean backup from before the attack date, restoring is faster and more reliable than manual cleaning. However, you must still patch the root vulnerability — restoring to an unpatched state guarantees re-infection within days.
Studies estimate the average cost of a website hack at $4,000–$50,000 when accounting for downtime, lost revenue, malware removal, SEO recovery, and reputation damage. Prevention (WAF, 2FA, backups) costs a fraction of recovery.